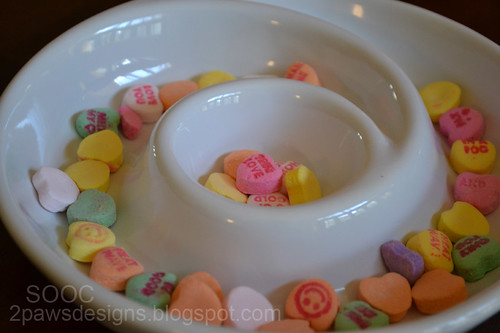
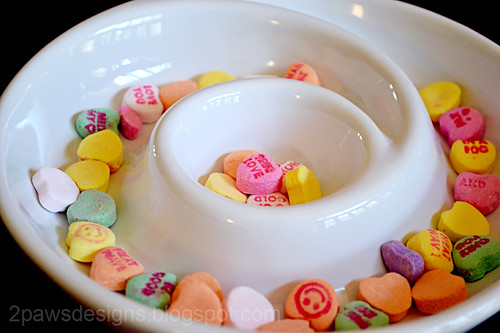
I started my edit this week the same way as I seem to start them all - by adjusting the levels - setting my white and dark points then shifting the input and output levels until it visually looked good to me. Then I used the clone stamp tool to remove a teeny, tiny piece of something (sugar crumb perhaps?) that was hanging out on the edge of the circle in the center of the bowl. It was bugging me and needed to go immediately. ;)
From there ...
- I created a duplicate layer with the high pass filter. Love that trick from Ashley and how it really brings out the details.
- Added a new adjustment layer - curves. As with the levels, I played around until it looked "right."
- Merged all layers.
- Duplicated the background layer. Applied the Gaussian blur effect (0.3).
- New adjustment layer - levels. I initially left the RBG alone and tweaked the Red, Blue and Green. Then I returned to RBG and made a few slight changes.
- New adjustment layer - brightness/contrast (+3, +11).
- New adjustment layer - color balance. I adjusted the balance through all 3 tone balance options (shadows, midtones, highlights). My goal was to keep the colors of the candy hearts natural and the bowl white, but also to warm up the bowl just a bit.
- Added a solid fill layer with the color #FFF7F8. Changed the layer to Soft Light mode. Lowered the opacity to 60%. I really liked the softening this step gave the image.
Join in the fun with Forever'n Ever'n Always Photography and Ramblings and Photos:


I really like how vibrant your edit is. It really pops but you kept it simple and I love that. Nicely done.
ReplyDeleteIt sounds like rocket science to me but I love the results.
ReplyDeleteI love how the filter changes the look of the photo - it really brightened it up, but still looks so natural - great job!
ReplyDeleteLovely job with your edit
ReplyDeleteLove this edit, very clean and crisp! And thanks for sharing the details about what you did-it's so helpful!
ReplyDeleteOh, thanks for all your steps! I'm trying to figure out when to merge the layers...beautifully done.
ReplyDeleteWow. What a beautiful edit. It looks like you are really learning tons of stuff from Ashley. She is a good teacher, isn't she?
ReplyDeleteIt's so clean and clear. I love this!
ReplyDeleteLooks great Sarah! The clarity is amazing.
ReplyDeleteGood job! I am totally sidetracked by the little Hot Wheel playmat though, how cute is that!
ReplyDelete