
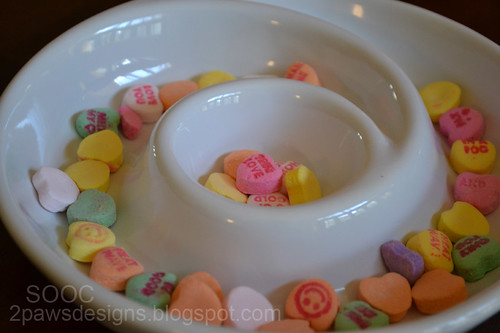
From there ...
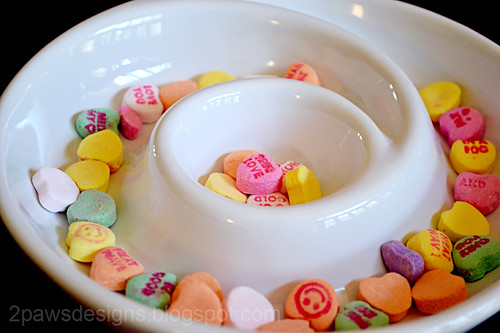
- I created a duplicate layer with the high pass filter. Love that trick from Ashley and how it really brings out the details.
- Added a new adjustment layer - curves. As with the levels, I played around until it looked "right."
- Merged all layers.
- Duplicated the background layer. Applied the Gaussian blur effect (0.3).
- New adjustment layer - levels. I initially left the RBG alone and tweaked the Red, Blue and Green. Then I returned to RBG and made a few slight changes.
- New adjustment layer - brightness/contrast (+3, +11).
- New adjustment layer - color balance. I adjusted the balance through all 3 tone balance options (shadows, midtones, highlights). My goal was to keep the colors of the candy hearts natural and the bowl white, but also to warm up the bowl just a bit.
- Added a solid fill layer with the color #FFF7F8. Changed the layer to Soft Light mode. Lowered the opacity to 60%. I really liked the softening this step gave the image.
Join in the fun with Forever'n Ever'n Always Photography and Ramblings and Photos:


I really like how vibrant your edit is. It really pops but you kept it simple and I love that. Nicely done.
ReplyDeleteIt sounds like rocket science to me but I love the results.
ReplyDeleteI love how the filter changes the look of the photo - it really brightened it up, but still looks so natural - great job!
ReplyDeleteLovely job with your edit
ReplyDeleteLove this edit, very clean and crisp! And thanks for sharing the details about what you did-it's so helpful!
ReplyDeleteOh, thanks for all your steps! I'm trying to figure out when to merge the layers...beautifully done.
ReplyDeleteWow. What a beautiful edit. It looks like you are really learning tons of stuff from Ashley. She is a good teacher, isn't she?
ReplyDeleteIt's so clean and clear. I love this!
ReplyDeleteLooks great Sarah! The clarity is amazing.
ReplyDeleteGood job! I am totally sidetracked by the little Hot Wheel playmat though, how cute is that!
ReplyDelete