
I created the cover page for our Walt Disney World album in Photoshop CS. The layout idea is scraplifted from a two-page layout by Tricia Kennedy that is published in the Nov/Dec 2007 issue of scrapbooks etc. magazine. I loved the clean, simple design and use of "extra" photos to create part of the title.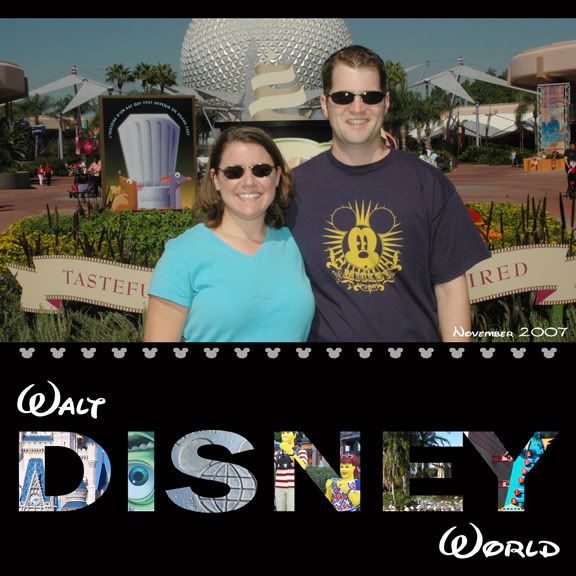
STEP 1
Open a new layout. Size as desired. Mine is 8"x8" at 300 pixels.
STEP 2
Type the text you would like to change to photo letters. Adjust the font and size as desired.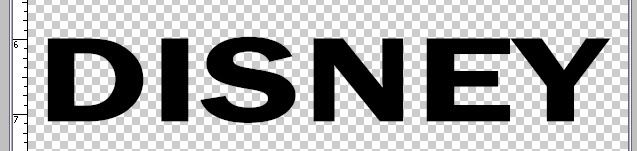
STEP 3
Change the opacity of the text layer so that you will be able to "see" your images as you locate them.
STEP 4
Create new layers below the text layer for your images. One image per layer will allow you more flexibility it shifting the images.
STEP 5
Open an image you would like to use. Resize it as needed. Copy/paste into one of your image layers in your layout. Use the Move tool to locate the image where you would like it. For example, I shifted the photo of Mike Wazowski so the pupil of his eye would be visible.
STEP 6
After the images are arranged how you want them, merge the image layers together.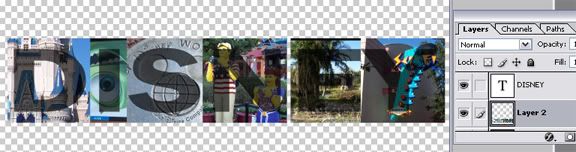
STEP 7
Return the opacity on the text layer to 100%. Then, move the image layer above the text layer.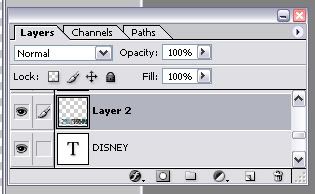
STEP 8
Select the image layer so that it is highlighted. Now, hold down the CTRL key while pressing the G key. You will notice a little bent arrow next to the layer image in the Layers Manager.
This action creates a clipping mask using your text as the mask. This is the result: Note: I added a black background to the last image for easier viewing. :)


Daisy Chain
1 day ago


that is so awesome! I bookmarked so I can try this!!!
ReplyDeleteGreat tip.. thanks. :) I also bookmarked it in my favs, so I can try it. :D
ReplyDelete